I loved the whole process and outcome of my faux granite bathroom counter so much, so I was happy to do it again in the kitchen. The counters were an ugly, boring cream-colored Formica...and since I have a LOT of counter space I was stoked I could redo them all for a measly 60 bucks.
I bought another Giani Granite Kit, but this time in Bombay Black. I had already repainted the drab oak cabinets a light gray-ish/taupe color, and the rest of the colors in the kitchen were pretty light too, so I wanted some contrast. I was a little nervous about going so dark at first, but I'm totally glad I took the plunge.... The counters are so gorgeous in person and for about a week afterwards I just kept walking into the kitchen to stare at them. That's normal, right?
Prepping... I used leftover contractor's paper from my paper bag floors to protect my freshly-painted cabinets. And I used FrogTape to protect some of the walls, the sink and the window trim...but since I was planning to add a tile blacksplash like I did in the bathroom, I didn't have to be careful everywhere. Thank goodness, because I'm a messy do-it-yourself-er...

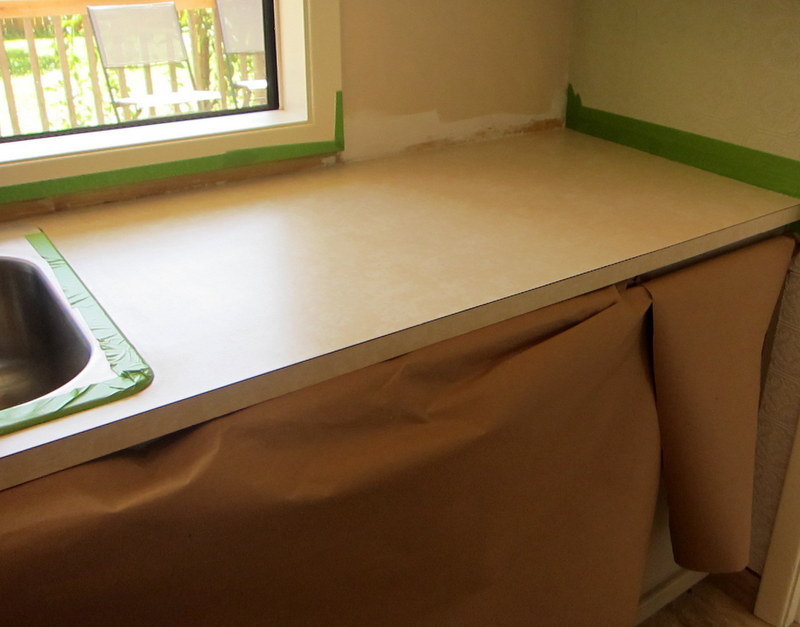
Before I could primer the counters, I had to fill a couple of holes in the Formica... Giani recommends using sandable/paintable wood patch. All I had to do was smoosh (yes, it's a word) some wood patch in my hands to warm it up, spread it on the holes with a puddy knife and let it dry. I think it took an hour or so...and then I just sanded it smooth and level with the rest of the counter. Easy.

Primered counters.... These photos feel very sneaky. I cropped out other parts of my kitchen that you are not allowed to see yet!


During sponging. I know it looks like a really bad kid's art project at this point, but just keep going! You won't regret it....


Okay, okay... I guess you're getting a sneak peak of my top-secret kitchen shelving anyway.... Apparently I forgot to take a picture of the whole kitchen in all its faux granite glory (I suck at this), so I'll do that later (after I clean it!) and add a photo of all the counters on here...
.JPG)
.JPG)
Ahhhh.... I love how shiny they turned out. They even FEEL real...
.JPG)
I also used black caulk around the stove and along the walls to give it a really seamless look. Notice the textured wallpaper...post coming soon!
.JPG)
I couldn't be happier with how the counters came out... They look stunning in person and no one can believe that they're painted. They are super glossy and multi-dimensional and expensive looking and I LOVE them.

Gotta go...another DIY project awaits me.


